Creating a unique Minecraft skin is an exciting way to personalize your character and stand out among millions of players in the vast sandbox universe. Whether you’re playing in solo survival, creating massive builds, or participating in multiplayer servers, a custom skin adds a touch of personality and flair to your in-game avatar. This guide will walk you through the process of designing your very own Minecraft skin, from the basic concepts to uploading your masterpiece.
Why Create Your Own Minecraft Skin?
- Personalization: A custom skin allows you to express your creativity and showcase your personal style in Minecraft.
- Recognition: With a unique skin, you can easily distinguish yourself and be recognized by friends or other players in multiplayer modes.
- Creativity: Designing your own skin can be a fun, creative outlet that enhances your overall gameplay experience.
What You’ll Need
Before you start creating your Minecraft skin, ensure you have the following:
- Access to Minecraft: Either the Java Edition or Bedrock Edition.
- Skin Editor Tool: You can use online tools like Skindex (Minecraftskins.com) or software like Paint.NET, Photoshop, or GIMP.
- Basic Computer Skills: Familiarity with basic image editing will be helpful.
Step-by-Step Guide to Creating a Unique Minecraft Skin
Step 1: Get Inspired
Before diving into the design process, gather inspiration. Consider themes or elements you enjoy such as your favorite colors, fictional characters, personal characteristics, or unique designs. Visit platforms like Pinterest or art sites to browse numerous creative ideas and develop a clear vision for your skin.
Step 2: Choosing a Skin Editor
Select the Minecraft skin editor that suits your needs:
- Online Skin Editors: Skindex and NovaSkin offer user-friendly platforms where you can create your design directly in the browser.
- Desktop Software: For those comfortable with software, programs like Adobe Photoshop or GIMP offer more flexibility and tools.
Step 3: Understanding the Skin Layout
A Minecraft skin consists of a 64×64 pixel grid representing the different parts of your character. Each portion of the grid corresponds to the body parts like the head, arms, legs, and body. Familiarize yourself with this template layout as it forms the basis of your design.
Step 4: Start Designing Your Skin
Once you understand the template, begin designing:
- Choose a Base: Start with an existing skin template or a blank one depending on your confidence level.
- Select Colors: Decide on the color palette you want to use for your skin. Consistency and contrast can make your skin look more appealing.
- Draw the Details: Use tools like the pencil and brush to add details to each body part section. Consider depth and shading to give your skin more dimension.
- Layering: Some platforms allow different layers for clothing, armor, or accessories, adding more uniqueness to the skin.
Step 5: Review and Refine
Examine your design from all angles to ensure each part aligns correctly when rendered in-game:
- Check for Transparency: Ensure no unintentional transparency that could render parts invisible.
- Align Colors and Patterns: Make sure colors and patterns match where edges meet.
Step 6: Save and Export
When satisfied with your design, save it:
- Export the Skin: Save your custom skin as a .png file format, as it is compatible with both Java and Bedrock editions.
Step 7: Upload Your Skin to Minecraft
Now it’s time to bring your design into the game:
For Minecraft: Java Edition:
- Log into your account on the Minecraft website.
- Navigate to ‘Profile.’
- Under the ‘Skin’ section, upload your .png skin file.
- Select either “Classic” (Steve) or “Slim” (Alex) model, depending on your design layout.
- Click ‘Upload’ to apply.
For Minecraft: Bedrock Edition:
- Launch the Minecraft game.
- Go to the ‘Dressing Room’ in the main menu.
- Select ‘Edit Character’ and navigate to ‘Owned’ skins.
- Click ‘Import’ and upload your custom .png file.
Step 8: Show Off and Enjoy!
With your new skin uploaded, enter a world and show off your creation. Interact with other players, take screenshots, and, most importantly, enjoy the unique identity you’ve created for your Minecraft character.
Conclusion
Designing a Minecraft skin is a rewarding project that combines creativity, personalization, and a dash of technical skills. With time and practice, you’ll gain confidence and perhaps even inspire others with your unique designs. Whether you’re starting with a simple design or a complex masterpiece, remember that your skin is an expression of your in-game identity. Dive into the pixel creativity and enjoy the endless possibilities Minecraft offers. Happy designing!
Related Posts

Lilya’s Impact on Mobile Legends: Analyzing Her Strategy and Gameplay
Mobile Legends has been a fan-favorite multiplayer online battle arena…
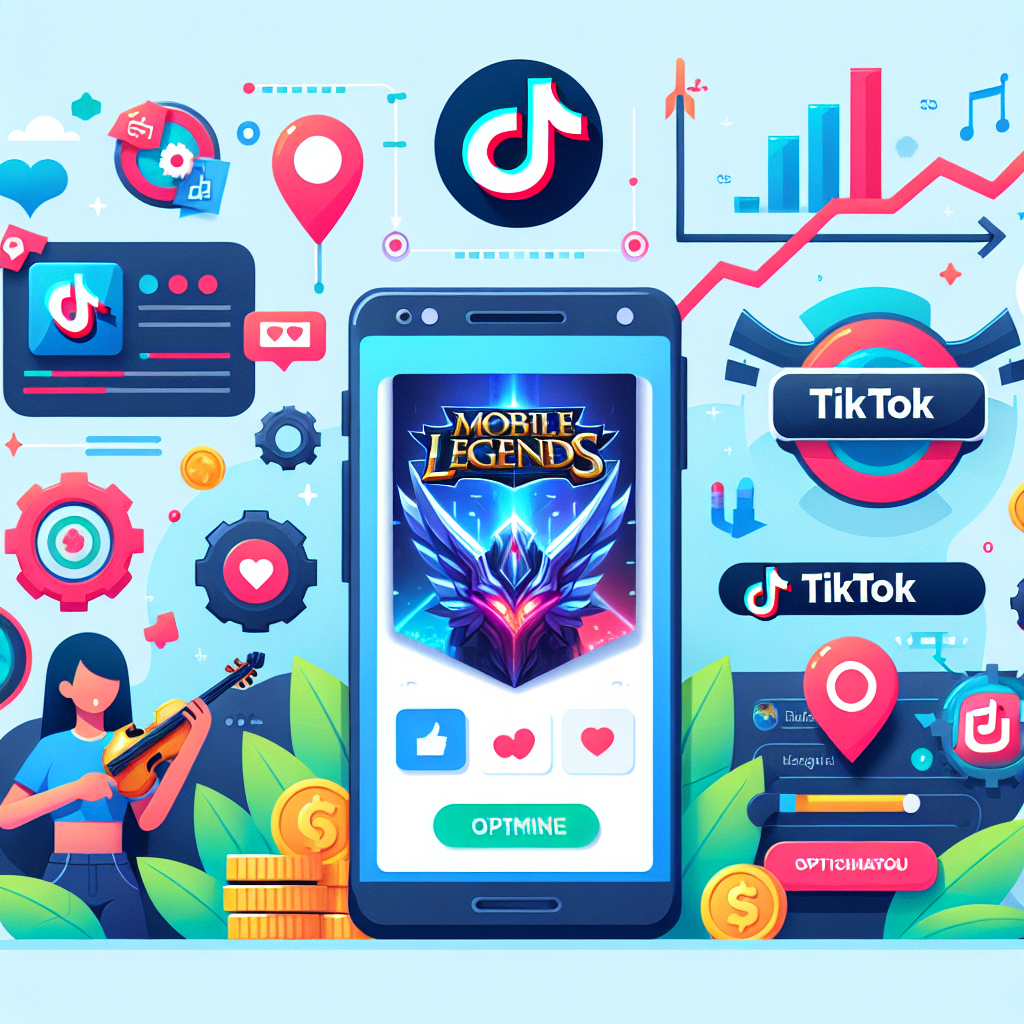
Tips Mengoptimalkan Cara Live Streaming Mobile Legends di TikTok
Live streaming telah menjadi salah satu cara paling populer untuk…
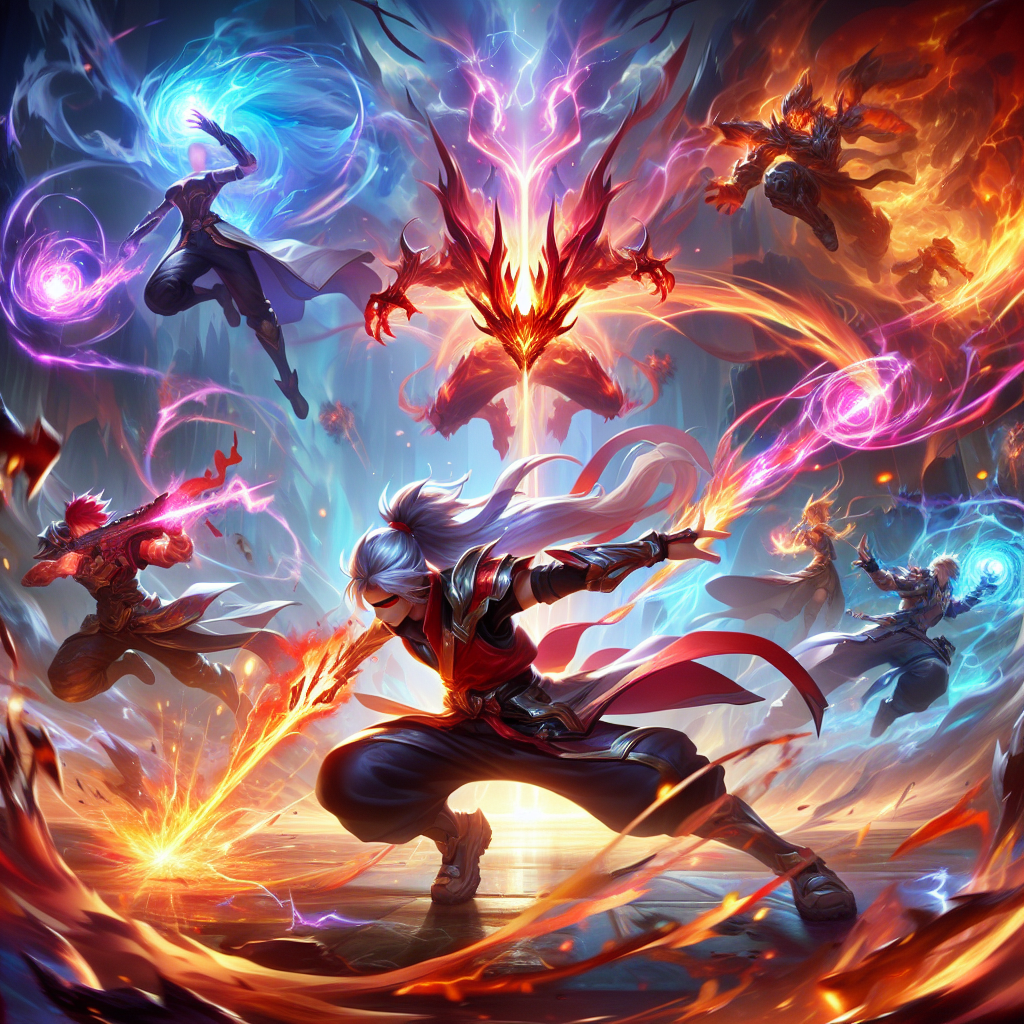
MSC 2023: Pertikaian epik dan momen yang tak terlupakan dalam legenda seluler Battle Royale
Mobile Legends: Bang Bang telah tumbuh menjadi sensasi global, memikat…